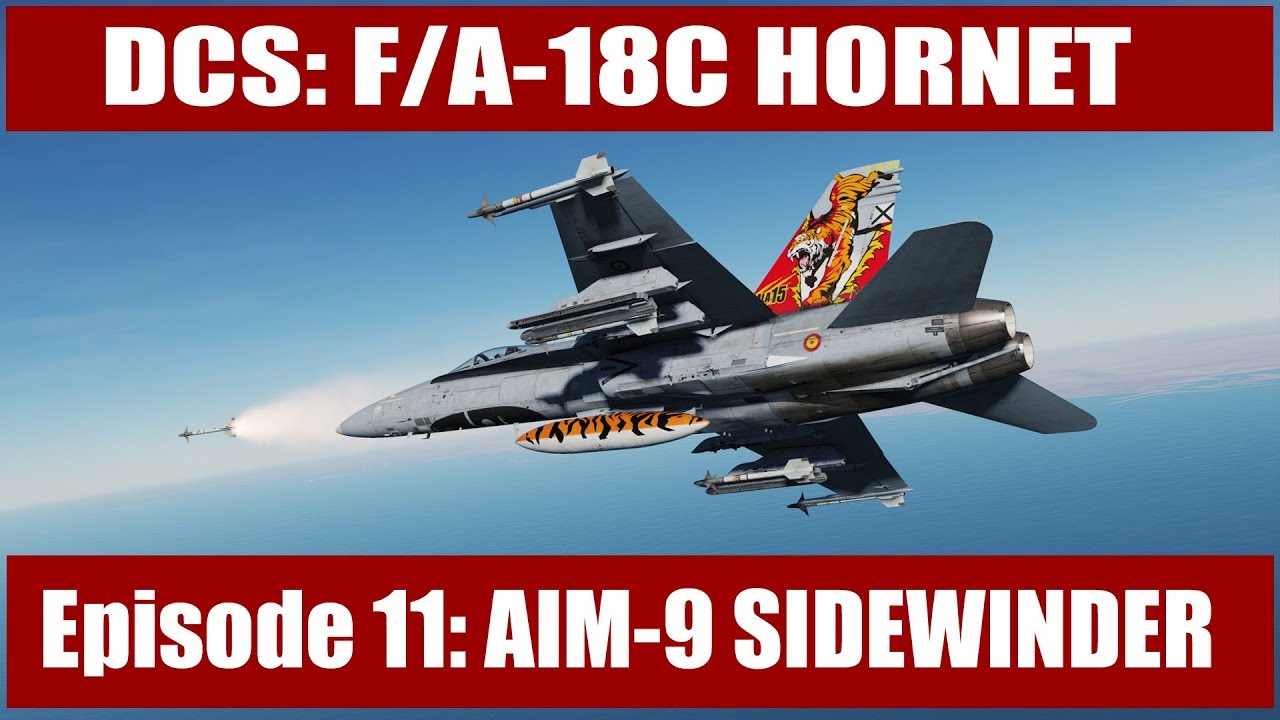
Q: Will the Hornet release with a manual?
A: The Hornet will release with a Hornet Early Access Guide that will instruct you on how to fly and employ the aircraft. Once it is ready, we plan to release it early. As new features and functions are added during the Early Access phase, the guide will be updated to reflect this.
Upon release of the final product, the full manual will be released.
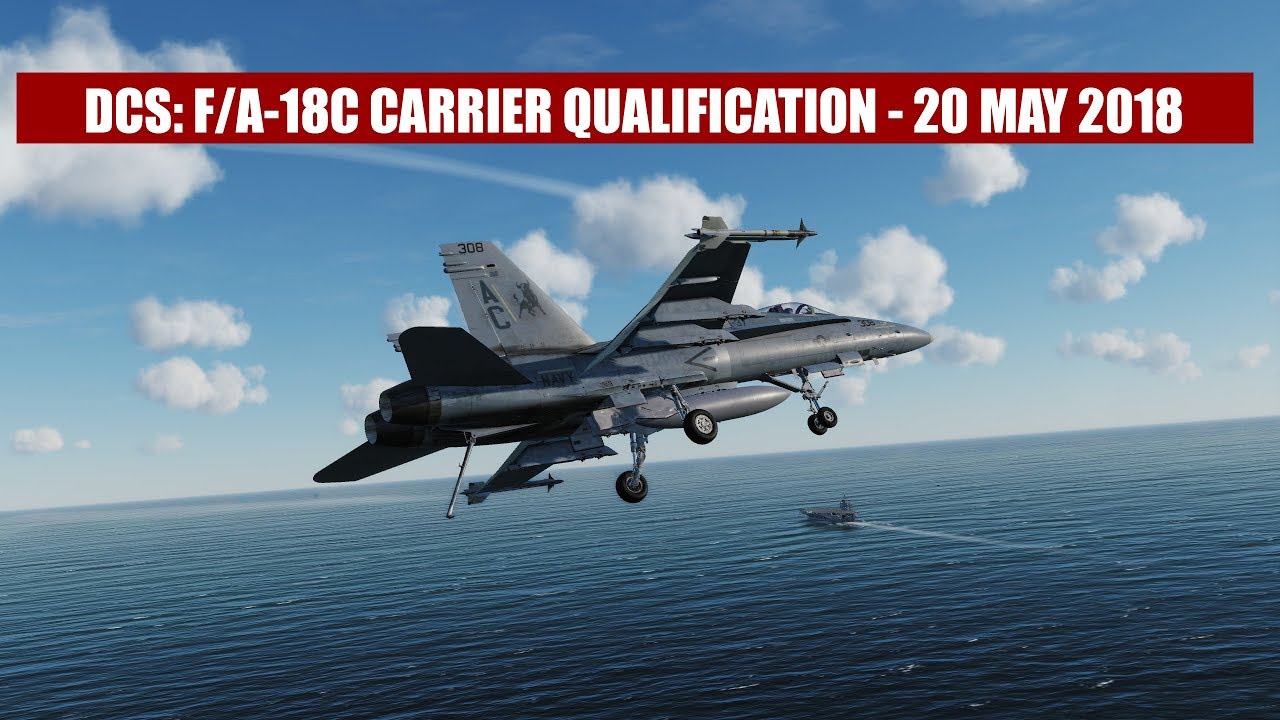
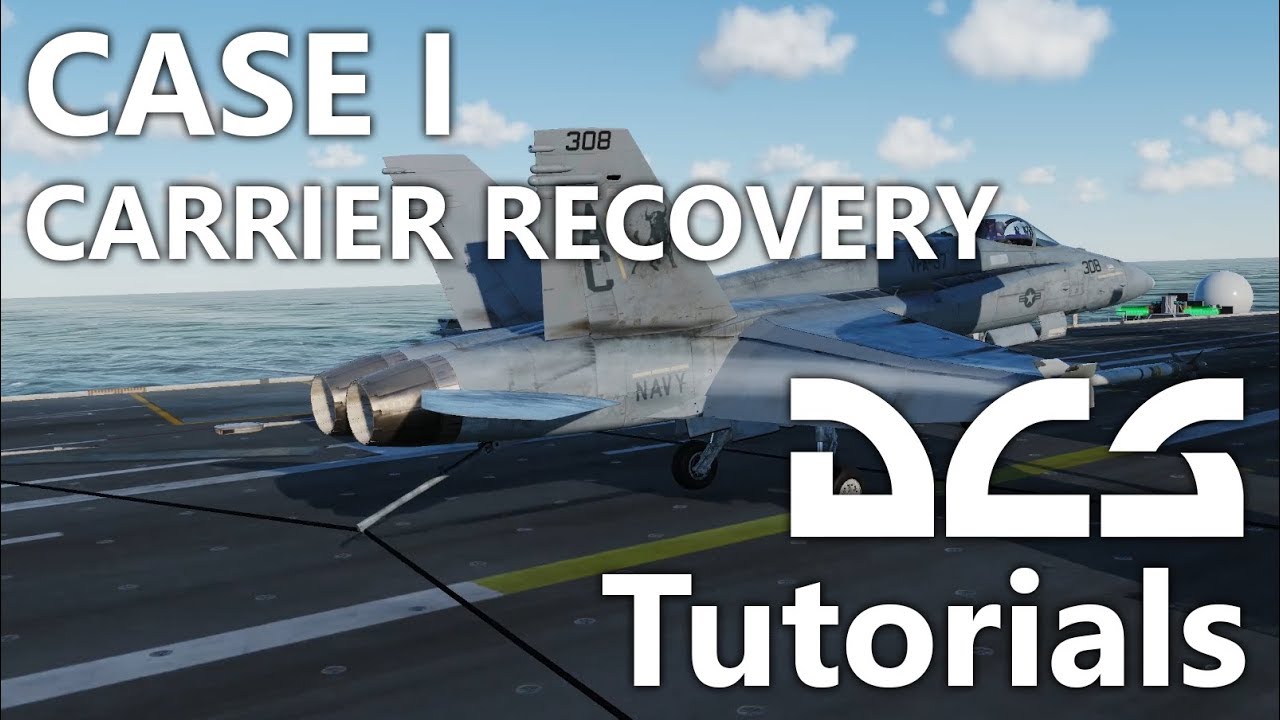
For me, the most fun and difficult thing you can do in the DCS: F/A-18C Hornet is a CASE I landing. Like most skill-based things in life, it takes lots and lots of practice. Here are my uncut, unedited, raw CQ traps (4) this weekend. Yes, these can be pretty long. Certainly not “OK” or even “FAIR”, they do though provide a little look at the process.
Basic notes:
1- Enter 5 nm diameter orbit over the boat at 2,000 ft at 250 kts using BARO hold and ATC.
2- Set TCN to the boat and set boat TCN course line to heading.
3- Set up the jet: hook down, displays, heat, radalt to HUD, anti-skid off, hook bypass carrier, and radalt gauge to 370 ft.
4- Break the 2,000 ft deck when abeam and behind the boat and approach the boat from the starboard side. Pass the boat at 350 kts / 800 ft.
5- When at most 1.5 nm ahead of the boat (closer if you are more seasoned), break into the pattern.
6- Gear down and flaps to full when below 250 kts.
7- Level off on the downwind at 1.2 to 1.3 nm abeam the boat’s course line.
8- Establish 8.1 on-speed AoA at 600 ft. Power and trim.
9- Once the boat’s round down on the stern is visible, roll into the groove with 30 degrees of bank in gradual decent (100-200 ft/min) for the first 90 degrees of turn.
10- Roll out on groove and adjust height with power to keep IFLOS ball centered. Combat recovery 8 seconds in the groove or 12-16 seconds for standard groove time.
Anyone doing a straight in during VFR conditions should hang their head in shame >
Oui, le radar est sur Standby car je déteste avoir le radar qui s’allume quand je décolle. C’est comme s’ouvrir volontairement les veines dans un bocal à requins.
Oui, le dispenser n’est pas sur OFF même à l’atterrissage, le Master Arm le coupe déjà.
Oui, ça balaye tous les tests: j’ai un bon mécano.
Aussi…
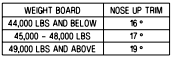
Pour le réglage du trim sur catapulte par rapport au poids total de l’avion:
Aussi 2…
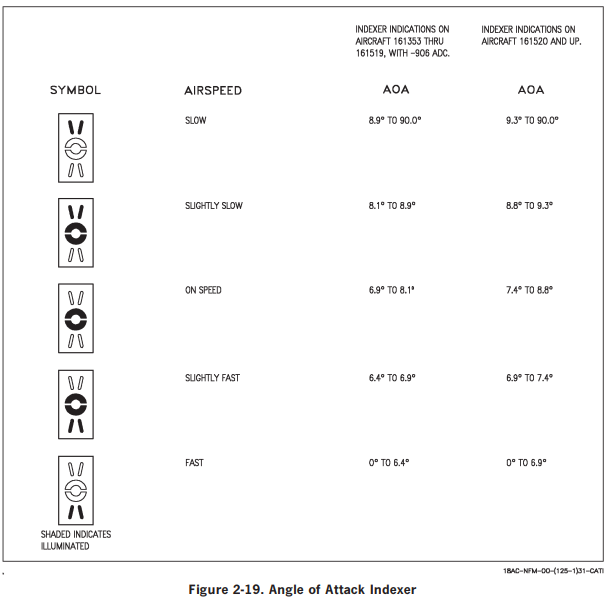
Concernant le Donut:
Ah! Et l’OLS tant qu’on y est!
At least three sets of lights are used, regardless of the actual technology: Datum lights – a horizontal row of green lamps used to give the pilot a reference against which he may judge his position relative to the glide slope.
Ball - (or « meatball »; also known as « the source ») (Note: La ligne verticale…) indicates the relative position of the aircraft with reference to glide slope. If the aircraft is high, the ball will be above the datum lights; if the aircraft is low, the ball will be similarly below the datum lights. The further the aircraft is from the glide slope, the further the ball will be above or below the datum lights. If the aircraft gets dangerously low, the ball appears red. If the aircraft gets too high, the ball appears to go off the top.
Wave-off lights – red flashing lamps which, when lit, indicate that the pilot must add full power and go around – a mandatory command. When the wave-off lights are lit, all other lamps are extinguished. The wave-off lights are operated manually by the LSO.
Additionally, some (particularly later) optical landing systems include additional lamps:
Cut lights – Green lamps used to signal different things based on where the approaching aircraft is in its approach. Early in a no-radio or « zip-lip » approach (which is routine in modern carrier operations), Cut Lights are flashed for approximately 2–3 seconds to indicate that the aircraft is cleared to continue the approach. Subsequent flashes of the Cut Lights are used to prompt the pilot to add power. The longer the lights are left on, the more power should be added. Cut Lights are operated manually by the LSO.
Emergency wave-off lights – Red lamps that have the identical function as Wave-Off Lights, but use an alternate power source. Not normally used.
Dans la vraie procédure il faut le mettre sur « OPR », du coup si tu l’oublies, au bout de 5 minutes de vol tu vois que ton radar est ON. Donc je le mets sur STBY de base.